Ultimate Guide to Converting JPG to SVG
Digital design often requires the conversion of various image formats, a skill that can significantly enhance the quality and versatility of your work. Today, we focus on converting JPG files to vector format.
This guide will explore the reasons behind this transformation and the best methods to achieve it.
The Importance of Vectorizing JPG Images
Scalability: One of the primary benefits of converting JPG to vector is scalability. Vectors can be resized infinitely without losing quality, making them ideal for everything from tiny icons to large banners.
Editability: Vectors are easily editable. Unlike raster images, you can manipulate individual elements within a vector file, allowing for more precise and flexible design work.
File Efficiency: Vector files tend to be smaller in size compared to high-resolution JPGs, leading to quicker load times and easier storage management.
Clarity: Vectors maintain their clarity and sharpness at any size, ensuring professional-quality graphics for all uses.
Understanding the Differences
JPG Images: These raster images are pixel-based, which means they lose clarity when scaled up. They are great for detailed, color-rich photographs but fall short in applications requiring resizing.
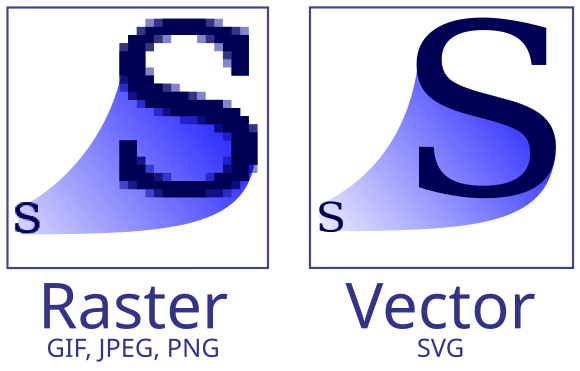
Vector Images: Made using mathematical equations, vectors consist of points, lines, and curves. This format allows for infinite scaling without losing quality, making it ideal for logos, icons, and other scalable graphics.
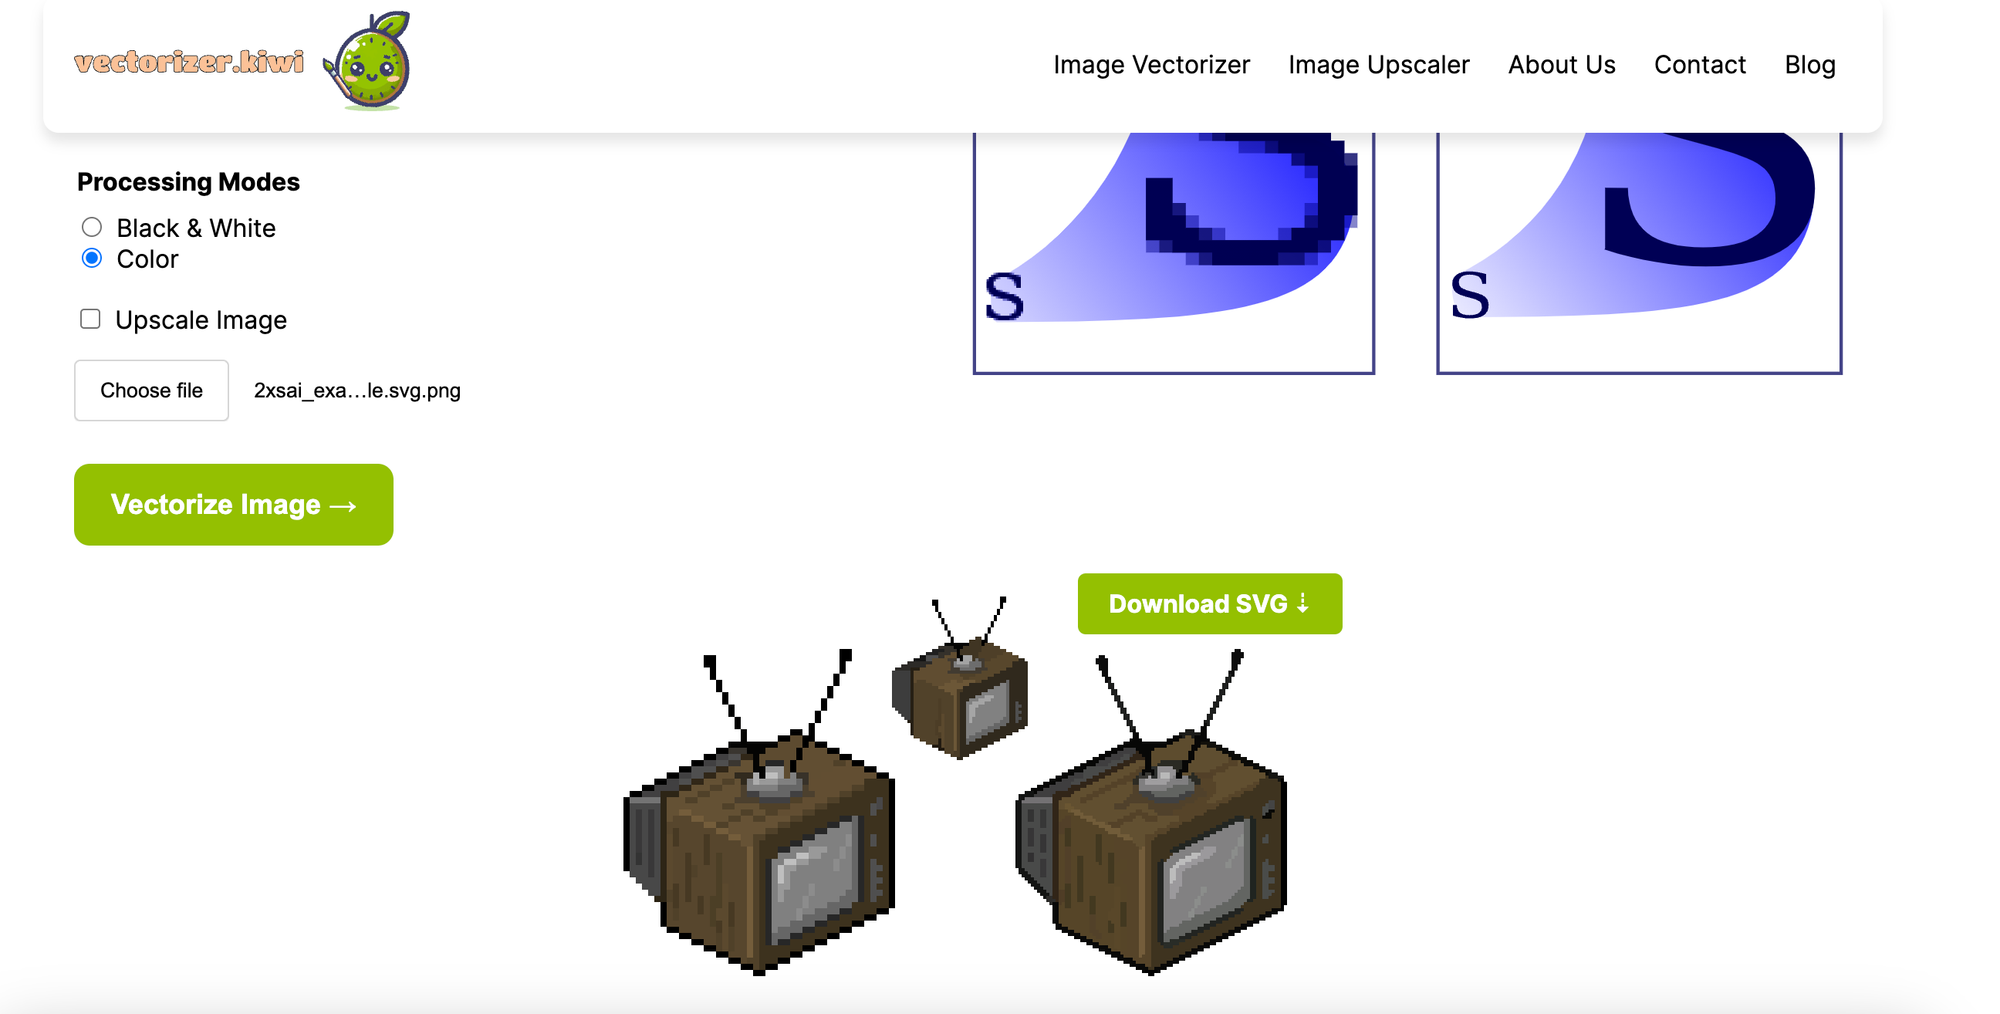
Converting JPG to Vector with AI Tools
AI-powered tools like vectorizer.kiwi simplify the process, providing high-quality vectors quickly and efficiently.
Steps:
- Upload Your JPG: Visit vectorizer.kiwi and upload your image.
- Automatic Conversion: The AI processes and converts your JPG to vector format.
- Download Your Vector: Once processed, download the vector file in your preferred format (e.g., SVG
Benefits of vectorizer.kiwi:
- Speed: Quick conversions.
- Quality: High-quality vector results.
- Ease of Use: User-friendly interface.
- Accessibility: No need for software installation.
- Affordable: Completely free.
Manual Vector Conversion
For those who prefer hands-on methods, manual conversion using graphic design software offers precision and control.
Using Adobe Illustrator:
- Open Image: Import your JPG into Illustrator.
- Create a New Layer: Add a layer for tracing.
- Trace the Image: Use the pen tool to create vector paths manually.
- Adjust Colors: Use the color picker to match the original image.
- Save as Vector: Export the file as a vector format.
Using Inkscape (open-source alternative):
- Open Image: Import your JPG into Inkscape.
- Trace Bitmap: Use the ‘Trace Bitmap’ function to convert the image to a vector.
- Edit Paths: Adjust the paths for accuracy.
- Save as SVG: Export the vector graphic.
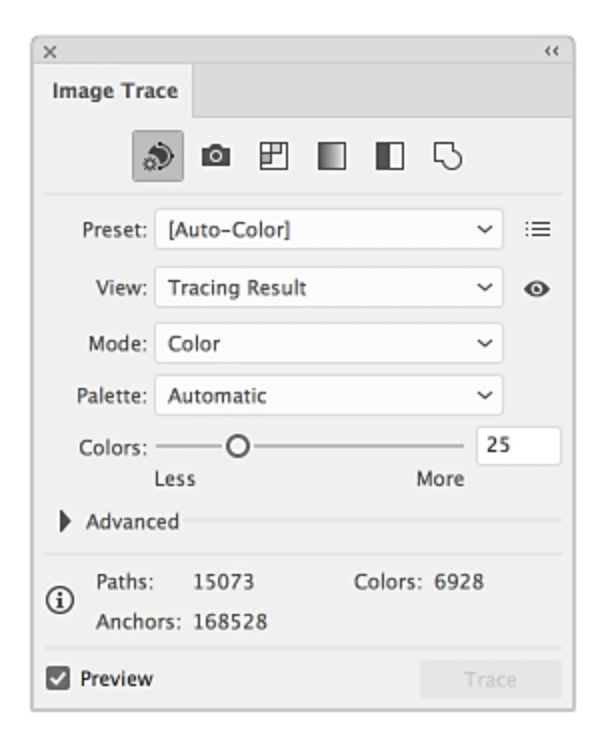
Automated Vectorization in Illustrator
Illustrator’s Image Trace feature offers a more automated approach:
- Open Image: Import your JPG into Illustrator.
- Select the Image: Click to select.
- Open Image Trace: Use the Image Trace panel to select a preset.
- Adjust Settings: Fine-tune for optimal results.
- Expand: Convert the traced paths into vector shapes.
- Save as Vector: Export the file.
Online Conversion Tools
There are various online tools available, though they often come with limitations regarding quality and features. Tools like Vector Magic can offer decent results but may require a subscription for full functionality.
Using Free Online Tools:
- Upload JPG: Choose a free online converter and upload your image.
- Convert: Follow the tool’s instructions to convert to vector.
- Download: Obtain your vector file.
Professional Vectorization Services
For critical projects where quality is paramount, professional vectorization services ensure top-tier results.
Steps:
- Submit Image: Send your JPG to a professional service.
- Review Drafts: Assess the vector drafts for any necessary adjustments.
- Finalize: Approve the final vector file.
Benefits:
- Expertise: High-quality conversion by professionals.
- Reliability: Consistent and refined results for important projects.
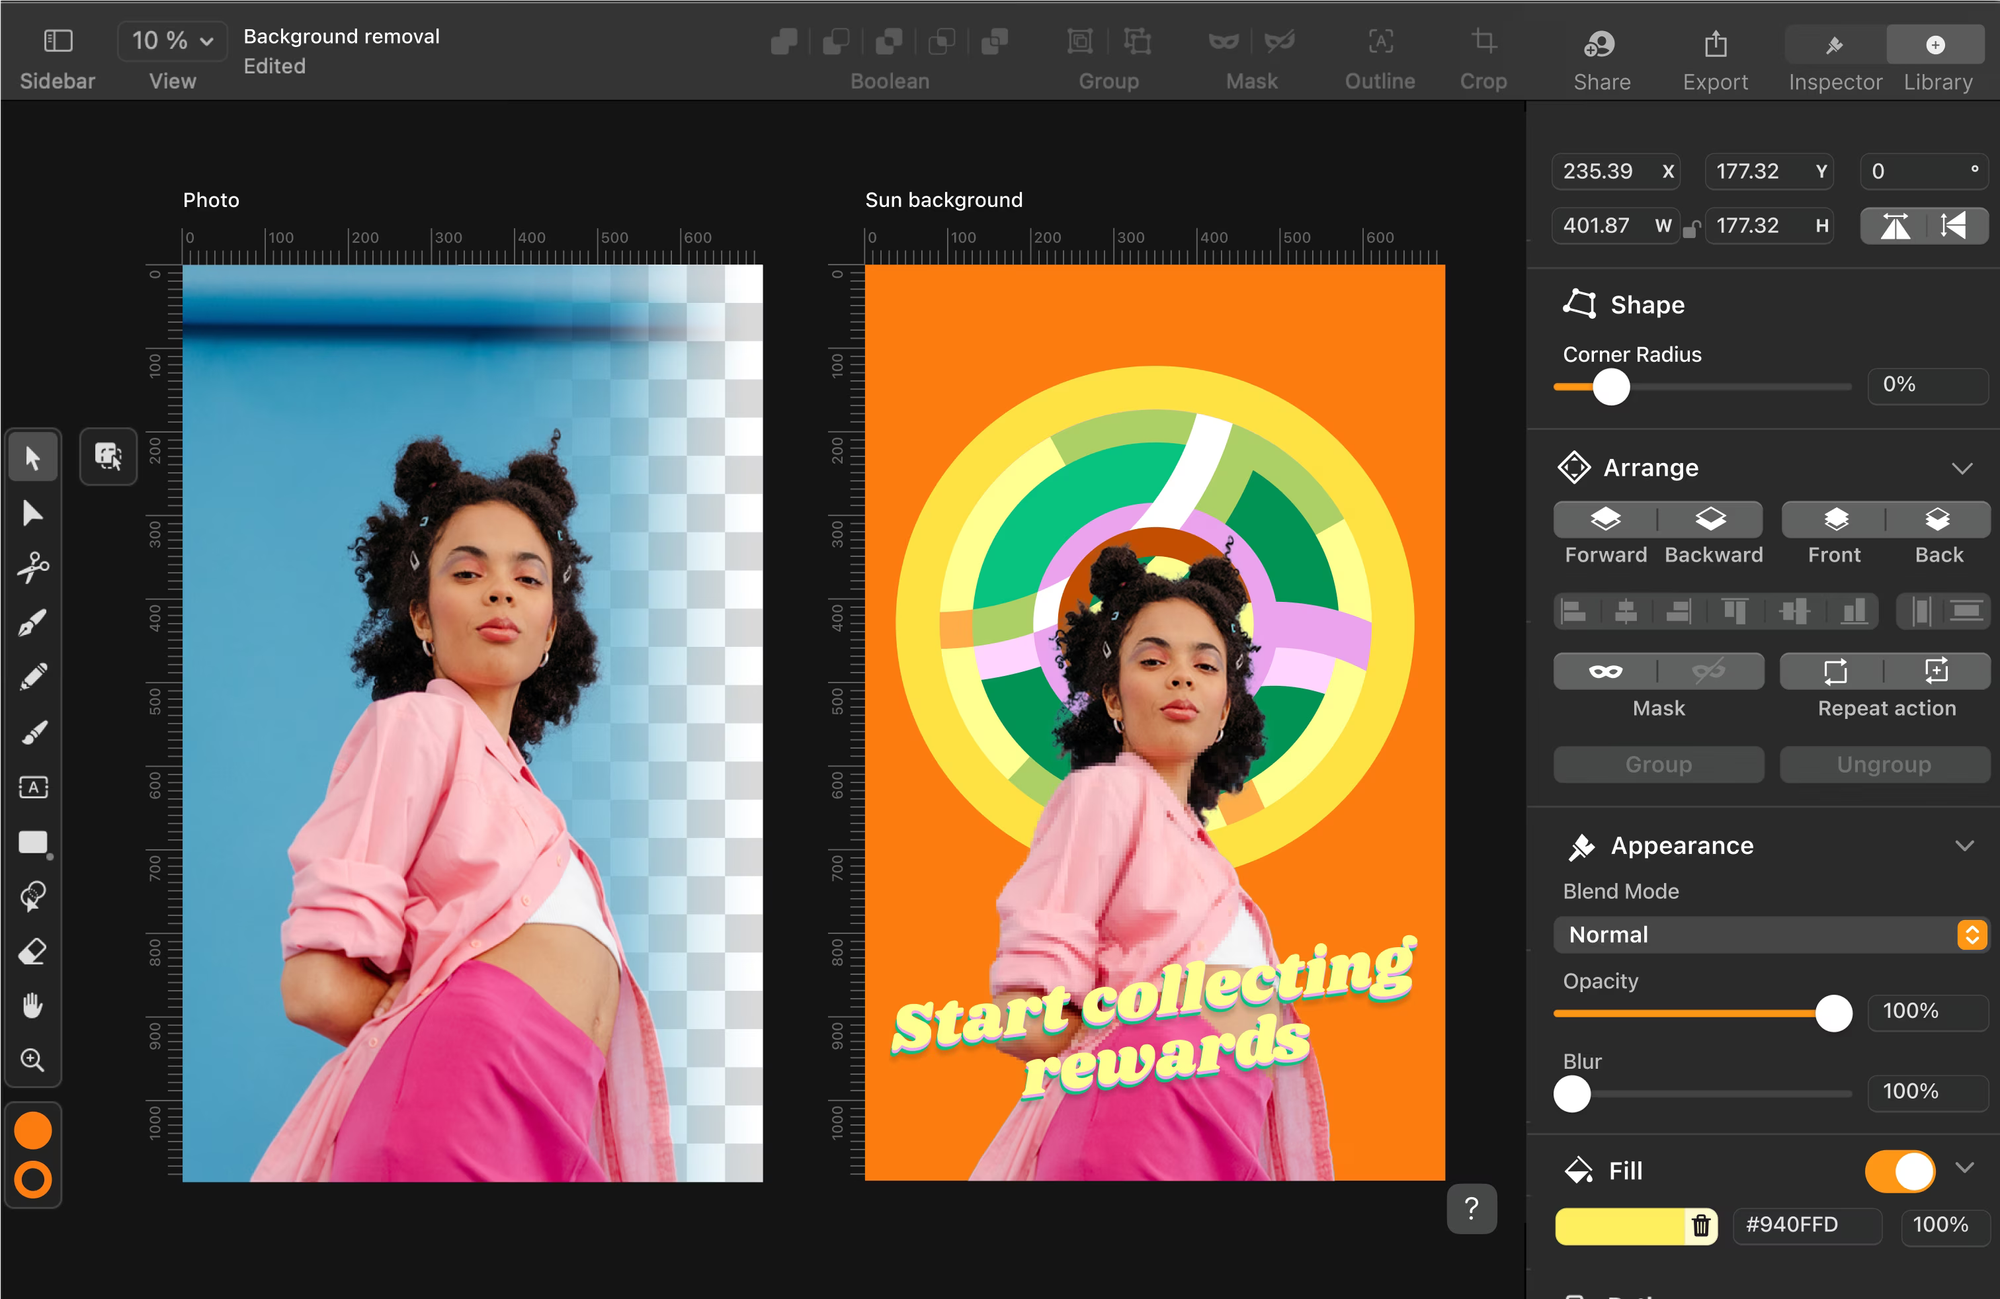
Enhancing Your Design Workflow
Converting JPGs to vectors is about more than just changing file formats. It enhances the flexibility, quality, and scalability of your designs. As the digital landscape evolves, scalable graphics become increasingly important.
vectorizer.kiwi offers an accessible and efficient solution for designers of all levels. Try it today and transform your JPG images into professional-grade vectors, ensuring your designs are ready for any application.